With WP Webhooks Pro 2.0 we launched a new feature called Data Mapping.
It allows you to create mapping templates that you can apply to webhook actions and triggers. Once applied, they will map certain response keys to your structure to make also non-valid responses valid.
To give you a better example:
We assume you have an incoming request to your WordPress site that should create a user, but it has the following structure:
{
   "data":{
      "custom_action":"create_user",
      "email":"[email protected]"
   }
}
To make that work, we need to map the data to the following:
{
   "action":"create_user",
   "user_email":"[email protected]"
}
To do that, we start by activating the Data Mapping feature under the settings: Settings -> WP Webhooks Pro -> Settings -> Activate Data Mapping
Now we can navigate to the Data Mappings tab and create a template.
After that’s done, you can start configuring the template.
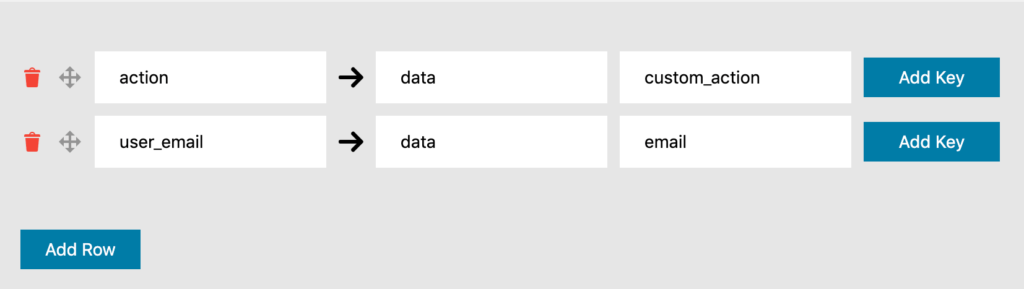
To do that, just define the new key at the left and the key that should be mapped to on the right.
In our case it should look like that:
Please save the template and head to your “Receive Data” tab and choose your template within the settings.
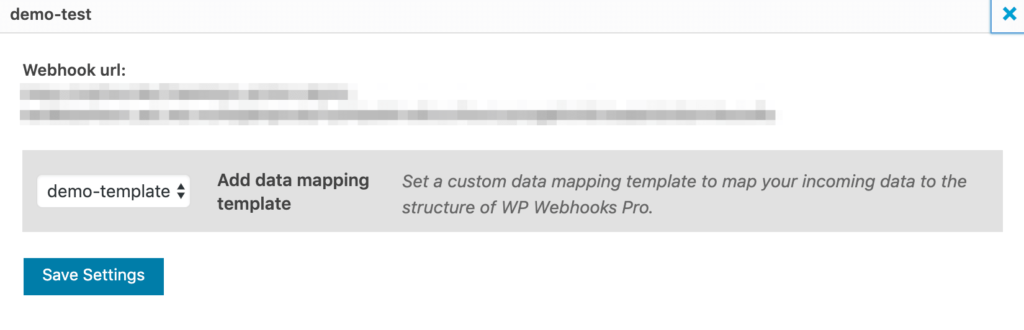
After this is done, you are ready to go. From now on, all of the keys within the template will be mapped and appended onto the original response.
Since WP Webhooks Pro version 3.0.6, we also offer a Data Mapping Preview, which allows you to test the data directly within the same window.