This plugin extends the possibilities of WP Webhooks Pro by allowing you to manage your media files. you can, for example, create files from attachments or delete them. In this article, we will demonstrate to you how you can create a WordPress attachment from uploading a file to Dropbox.
Please note: For security reasons, we just allow creating files via a path within the WordPress folder and subfolders.
For a full list of the features, please check down below:
How to use it
- Upload the zip file to your WordPress site (Plugins > Add New > Upload)
- Activate the plugin
- Go to Settings > WP Webhooks Pro -> Settings
- Scroll down and activate the specified action and click Save
- Go to Recieve Data and start implementing the webhook
Now just copy the specified webhook you want to use for that (The link with the long API key at the end) and head over to your webhook handler.
In this example, we will demonstrate the functionality using Zapier.
On Zapier you can create a new Zap, setup the Dropbox trigger and add a new action. For the
Now you are prompted to choose a Zapier Webhook. Choose POST or Custom Request and click “Save and continue” (In this example we cover POST)
On the next page, you need to include an URL. Please include there your webhook URL from your websites “Recieve Data” page.
For the Payload type, you can choose between Form, XML or JSON. You can also use plain text or
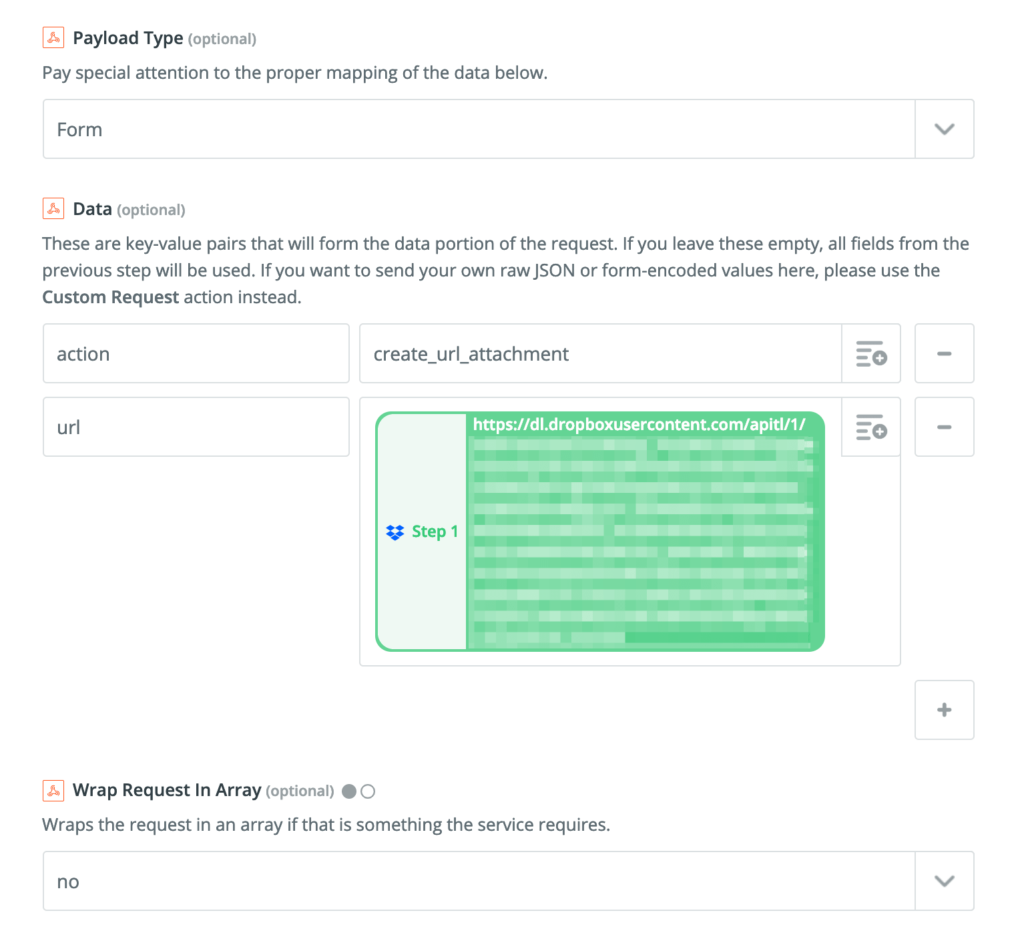
In this example, we are going to use the Payload Type “Json“, as well as the webhook action “create_url_attachment”
After including the URL and checking the Payload Type, scroll down and set the following button to no: Unflatten
Now you can scroll up again and place your actions into the Data fields.
As an action, you can choose create_url_attachment. For this action, it is required to define the “
IMPORTANT: In case you use the dynamically created dropbox links or any other URL that does NOT contain the file ending (E.g. .png, .jpg, .jpeg), you must also specify the file name with the file extension.
Otherwise, you will run into an error and the file is not created.

Now you can click save and finish the setup! After you set up your Zap, don’t forget to activate it.