This help file explains to you the basics to connect WP Webhooks with IFTTT.
If you want to learn more about how to receive data from IFTTT, feel free to check out this manual.
Send Data within a Flows automation
If you are using the Flows feature of WP Webhooks, you can simply select the “IFTTT” integration from the integration dropdown of any action you add. This allows you to add your IFTTT webhook URL, which will then receive the data in return.
Send Data directly on a WordPress event
You can also create a direct connection between WordPress and IFTTT by using our Trigger (Send Data) feature. This allows you to create direct connections to IFTTT without the need of using a whole Flow.
It supports all of our available integrations.
How to set up the IFTTT webhooks
- To get started, please create a new Applet within IFTTT.
- Once created, open up the Applet and add your trigger (If this). This step is responsible for triggering this Workflow.
- As the first step, please search for “Webhooks” and select “Receive a webhook with a JSON request” app as a trigger.
- Add an event name of your choice to the app
After you added the app, IFTTT generates a dynamic URL which you can add to WP Webhooks.
You will find teh dynamic URL via the Settings Button after clicking the following link: https://ifttt.com/maker_webhooks/my_applets
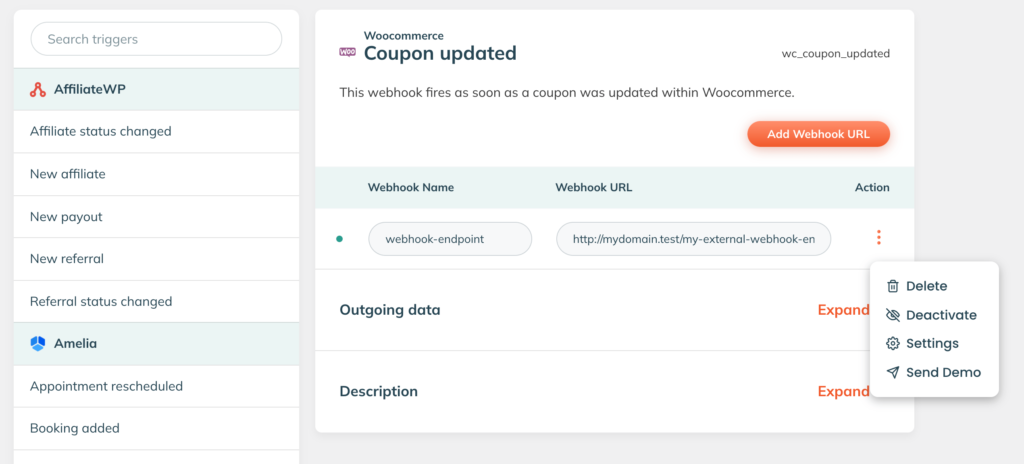
To add it, please head over to your WordPress dashboard -> Settings -> WP Webhooks -> Send Data, and add your webhook URL there for your specific trigger.

Once this URL was added within your chosen trigger of WP Webhooks, you successfully created a connection between our plugin and IFTTT
At this point, every time your selected trigger is fired, IFTTT will receive the data of that trigger and can use it to fire further steps.
You can also customize and filter the behavior of the trigger directly within WP Webhooks. To do that, simply open the settings next to the webhook URL inside of WP Webhooks and adjust the settings to your liking.
That’s it! You successfully set up your connection.
In case you would like to see any specific feature, you can request it here.